The Florida DrupalCamp website (where session submissions are currently open!), sends an email when someone submits a session, and another one when we mark the session as accepted or rejected.
Within the past week, I moved the FLDC site from using Drupal core’s Workflows module (along with the Workbench Emails module) to using the new(ish) ECA module, which I’m in the process of falling in love with. ECA provides almost infinite flexibility, while side-stepping some of the core Workflows issues that we were having.
In this article, I’ll set up the ECA module, and then configure it to send an email when a user creates a session node. There will be a followup article After this article, read how to configure ECA to send an email when the session is accepted or rejected.
About ECA
ECA stands for “Event Condition Action”, and is a module that where you can create custom workflows and logic. The primary reason I love Drupal is the ease of configuring custom solutions through “site building”, which is Drupal’s term for clicking around and configuring the CMS to build what you want.
The ECA module gives your site-building toolbox some amazingly useful mechanisms that can reduce the use of custom code, and simplify development for site-builders.
ECA is complex (sort of…)
ECA reminds me of Drupal core’s Views module, in that it has a very complex user interface, but it allows you to create extremely complex things that would normally require custom code.
Much like Views UI, the UI of ECA takes a bit of getting used to, but once you’re familiar with it, you can work pretty effectively!
That all being said, there is plenty of documentation, and the maintainers are extremely responsive and helpful within the #eca channel within Drupal Slack.
Downloading ECA and BPMN.iO
To install and configure ECA, you need to pull it down via Composer.
composer require drupal/ecaHowever the ECA module is just the backend module (think of it as the Views module without Views UI). In order to configure it, you’ll need a “modeller”. I use what (I think) is the most popular one, BPMN.iO.
composer require drupal/bpmn_ioInstalling ECA
We’ll need to install several modules in order to work with ECA:
eca- this is the core moduleeca_content- this enables ECA to work with content entities (like creation, updating, etc)eca_ui- This is a UI to see (but not configure) existing “ECAs”bpmn_io- This is the UI to create and configure “ECAs”
You can enable these modules either through the UI or through Drush.
drush en -y eca eca_content eca_ui bpmn_ioConfiguring ECA
Navigate to ECA via Configuration > Workflow > ECA

You’ll be presented with this screen showing no existing ECAs.
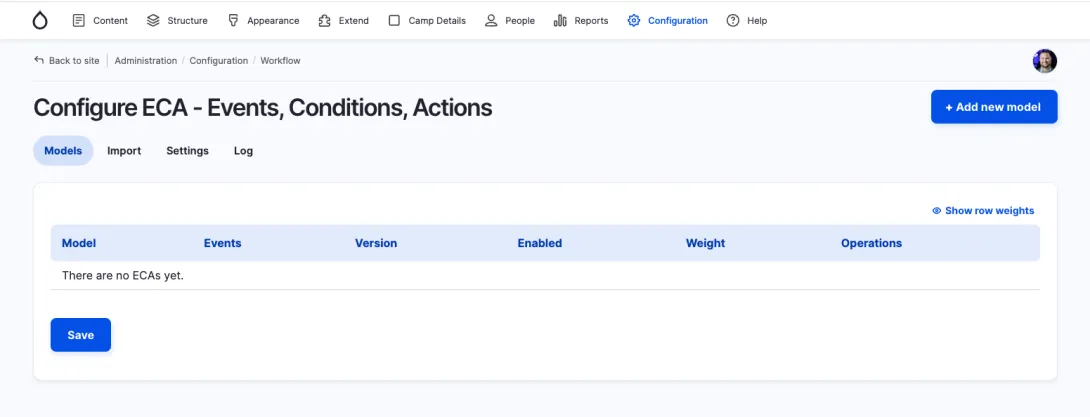
1. Add a ECA/model
Click the link to “Add new model”, and you will be presented with the BPMN user interface.
If you click on the “General” section within the Process pane on the right hand side, you can give this model a name. I named ours “Send email on session creation”.
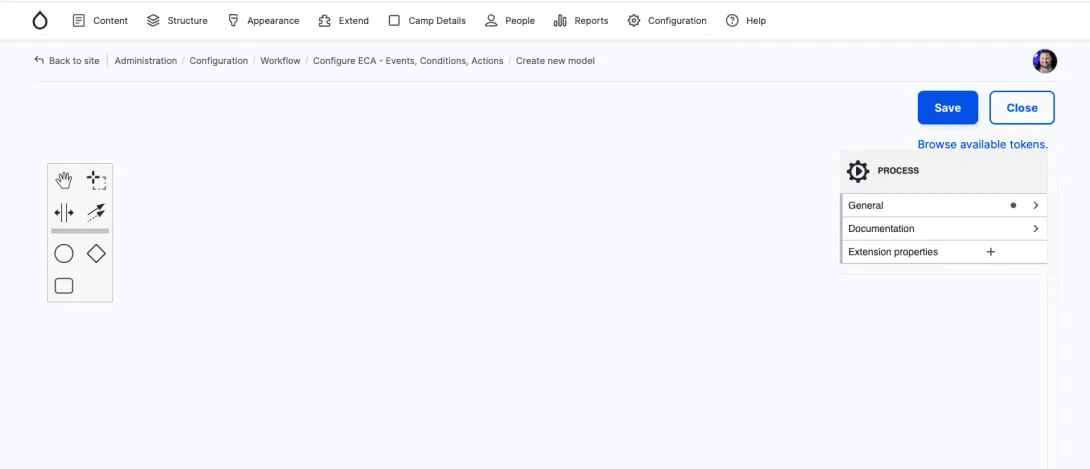
2. Create a start event
The next step is to create the start event. You do this by dragging the “circle” from the left toolbar onto the canvas.
3. Configure that start event.
- Click on the start event circle.
- On the right hand side of the screen you’ll see the event’s properties. Expand the “general” section, and give it a name.
- Within the “Template” section, click the blue “Select” button, and select the option for “Insert content entity”.
BEWARE - Be sure to select "Insert content entity, as opposed to "Create content entity"! The option to “Create content entity” does not work as you expect. You’ll want to use the “Insert” option instead.
According to the maintainer Jürgen Haas, “The create entity event is triggered by Drupal core when PHP initializes the Node object to then fill it with values. So that's very early in the process and no real values are available at that point.”
- Change the “Type (and bundle) to “Content: Session”. For the FLDC site, “Session” is the label for the
sessioncontent type.
4. Create the task to send emails
The next step is to configure the task to send the emails.
- Click on the start event circle. Icons will appear to the right hand side.
- Click the rounded rectangle icon that is labeled “Append task” when you hover your mouse over the icon.
- On the properties within the right hand side, give the task a name. I named mine “Send email”
- Within the “recipient’s email address” field, enter a value. You can use tokens here. There’s a “Browse available tokens” link above the properties pane. I use the
[node:author:mail]token. - Enter in a subject and message.
- Save and you're done!
Conclusion
I feel at this point, I’m only using about 2% of ECA’s power. I’m excited to dive deeper, although as a front-end developer, I probably won’t have too many opportunities.
In my next article on ECA, I walk through a slightly more complex workflow where I configure ECA to send emails when we accept or reject sessions. This involves comparing field values, etc.
In the meantime, if you’d like to see ECA in action, please submit a session to Florida DrupalCamp! The session deadline is December 19th!
Hey you! Leave a comment!
Seriously... I really like it when people let me know their thoughts and that they've read this.